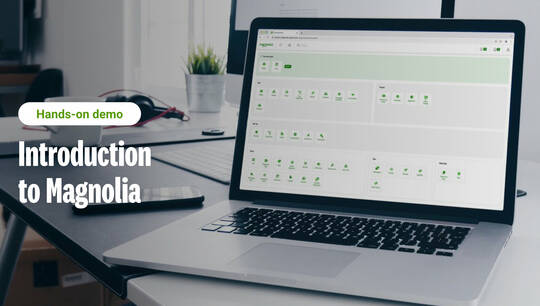
Magnolia run-through
1,355 views
- 00:00 | Intro
- 00:22 | Magnolia UI
- 00:39 | Asset Management
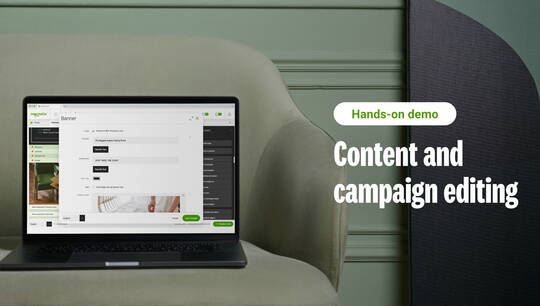
- 02:37 | WYSIWYG Editing
- 05:51 | Personalization
- 08:15 | Content Preview
- 09:09 | Marketing Automation
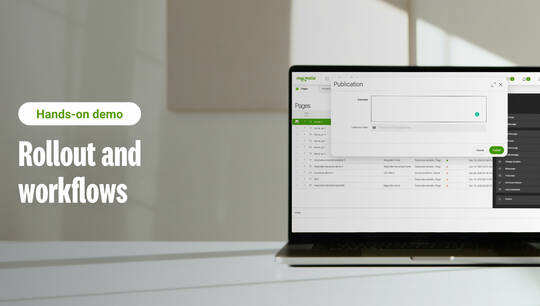
- 09:45 | Multi-Site Management
- 11:16 | Outro
Want to see Magnolia in a free demo? Book your demo now >
View transcript
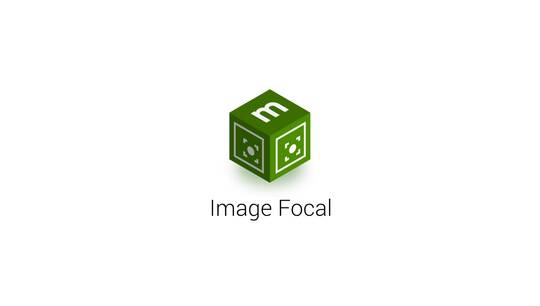
Hey there. I'm Iran, Lead Solutions architect here at Magnolia. Welcome to the quick Magnolia run-through. Let's dive right in. First, I'll be logging in to the system as a super user. Since Magnolia is a very rich and role-based system, it's easy to integrate with third-party SSO or LDAP integrations. Today I'm logging in as a super user, meaning I'll have all the rights assessed to me as an administrator. Once you log into the system, the first screen a user is met by is our App Launcher layout. Here you'll see a collection of different tiles. What they all are, are different apps. They're just like apps on your phone. You want to go into any certain specific functionality, you just click on that app and you're off and running. First app we're going to be taking a look at is our Assets App. Here in our Assets App, once we click in it, we can see all our digital assets, so we can see our images, PDFs and videos. We can expand folders and our folder type structure and see all the images I have available in the system. I can select this image, get a brief preview. I can also edit the image. And I can edit the image here by adding a caption, a title, any metadata fields that I need and fill all those fields out accordingly. What Magnolia recommends is that you bring the largest image that you have possible. Magnolia has a very rich image resizing module that allows the resizing of the different images to different viewports. We can also change the focal points of those different images. So if I want to focus more on the screen here, I can select that and all the different variations that were created of that image will then focus on that one point. Further control of the images can be done in focal areas. Focal areas allow us to then crop out those particular aspect ratios. So I have real control of what's going to show in that image gets called on by the system. So I can go ahead and move this image up a little bit, a little bit to the right, and get an actual representation of what that image rendition is going to look like when it goes on to the site. What you see here is the Magnolia Digital Asset Manager and what an app looks and feels like in the system. So they all look and feel the same. So once a user gets accustomed to working with one app, it can easily introduce new applications and new functionality in the system, and it'll be easy for a user to get off and running pretty quickly. This is the Magnolia Digital Asset Manager, but you can also have integrations with third-party systems such as Binder, Amazon S3, or Cloudinary for a digital asset or any digital asset manager that you would like. It's all just working via APIs. We also have Connectors fo ecommerce that will connect you with an ecommerce system as well as any analytics system bringing in that data, and you can all manage it from Magnolia native so everything looks and feels the same. The next app we're going to be taking a look at, is the Pages App. Pages App is where you manage all your websites, and you can manage all your landing pages with Magnolia's rich multi-site capability. We see here the Magnolia corporate site. We expand that tree type hierarchy. We see we have the Magnolia homepage, a landing page for the CMS as well as an "About us" page. To add a page, I can simply select add a page here from the action bar, type in a title, select a template from the list of available templates. Next I can enter some page properties here. I can enter a title for the page. I can enter any metadata description. So think about this for SEO type purposes. Any meta keywords, any meta description, I can go ahead and fill out those fields here accordingly. For now, I'll go ahead and leave them blank and save those changes. And just like that, you see it adds that "Contact us" page directly into that tree type hierarchy. To edit the page, simply double click on it, and I'm taken directly into that editing interface. So this is that WYSIWYG editor that Magnolia offers, allowing users to copy paste components, drag and drop. Really a lot of flexibility on the look and feel of that page. So to add a component into this main area, I simply select the plus icon and it allows me to select from a list of available components in which I can drop into that particular area. So here I'll select a text with image and video hit next. And then I'm prompted with another dialog box to simply enter the title as well as some information that will be captured and then displayed on the screen accordingly. We'd enter a title here. We can also enter some links. Let's get in touch. And then I select some media. So in the media field, we can enter maybe a YouTube video embed. If we select the only image option, what this is allowing us to do is, it allows us to go into one of those digital asset managers that we have, whether it's internal or external, and then go ahead and select an image from there and then import it onto the page. So I'll open the Magnolia assets, the digital asset manager we saw before. We'll go ahead and select the corporate website. Generic images. And select one from here. Choose. Save those changes. And just like that, I get instant preview of what that component is going to look like when it's live and published on the site and what it looks like on that template. For more previewing capability, I can easily hit preview page here on the action bar. This does a couple of things. Number one, it'll remove all those green bars that we saw there and we can see what the page will look and feel like. We can also test it here against different viewports. So against a tablet portrait, for example, or maybe even a smartphone portrait. So we can see what that will look like on different devices. We also offer a preview in tab option that does just that, opens a brand-new tab with all of Magnolia removed from around it, so you can actually test and inspect this page and what it's going to look like when it's live and published. To go back to editing, maybe add another component or actually we'll add some personalization to this page. We'll select edit page and then that takes us back to the green bars and we know we're back in that WYSIWYG Editor. So let's add a level of personalization to this component. What personalization does is it allows you to personalize that component for that any unique visitor. So we can add a component variant and that'll add a variation of content to that component. So we have our original and then we have our variant which we're now working on. We can choose an audience for that variant, and we're going to serve up different content to any user, let's say, coming from Basel, Switzerland. So type Basel visitor and we'll go ahead and add those different traits. Here are a list of some sample traits that we have in this demo instance. However, in a real-world situation, you can integrate with third parties to bring in those traits and customize what you're personalizing again. So, if you know a user's been to the site multiple times, you can change that component based on that data. We can also integrate with CRMs or CDPs, bring in that data so you can customize based on that. We'll go ahead and select a cookie here and we'll check the locality of Basel, save those changes. So now we have created and choose the audience for that particular variant. So now we have our original and our Basel visitor. All we really have to do now is edit this component and adjust it for that particular visitor. So to do that is simple. Pencil icon. Go back to that dialog box. And we'll put here: Welcome Basel Visitor and we'll go ahead and select different media. So we'll select a new one again from our digital asset manager. And we're going to actually select the image of our corporate headquarters in Basel. Choose that and let's change the styling a little bit so the media will be, instead of being on the left, we'll change it over to the right. So it'll be a little different. Welcome Basel Visitor. And there we go. So we have our instant preview again. And just like that, it was that easy for me to create a new component with personalization and be able to preview that right away. So I have the original and my fall-back and then my Basel visitor variant. To test personalization on a page again with Magnolia is very simple. Select my preview page option here and now I want to preview it as a visitor. What preview as a visitor does is, it allows me to preview with different traits so I can customize the different traits, or I can have different personas with those built-in traits that I want to test the page against. So we'll go ahead and ad-hoc add it here, and then we know a visitor from London will go ahead and see this experience, whereas a visitor from Basel will see our Basel experience. So this is just really that easy for us to be able to test the personalization that we just placed on a page. To go back to editing on the page. Let's go ahead and drop in another component. So another really good capability Magnolia has is the ability to integrate with third parties. So we can integrate with third parties and bring that data into a component via API. So what we're going to do here is we're going to select a marketing form component that will allow us to integrate with CRMs or CDPs, bring in that data and then displayed it on the page. So when I select next, it's going to go ahead and give me my different connectors that I have in the system. So I have a Salesforce connector as well as a Marketo connector. And what this is going to do is it allows me to select from a list of forms that I actually have created and manage in Marketo. Contact us form. Save those changes. It'll go ahead and drop it right onto the page. And all that data is coming directly from Marketo. So once this is live and published, a user can interact with this page, fill out that form. Once it gets sent, it goes straight into Marketo, and it's really that seamless for a user to interact with the page, drop in a component and add personalization with Magnolia. Magnolia also does offer translation capabilities. You can translate different components by selecting the pencil icon and toggling here at the bottom. So at the bottom of each component, we'll notice this little box. Basically, we select it and can click different languages. This will allow us to edit that particular content in that language. So, for example, I select Spanish and now I see that this is editing the title for ES, so the Spanish site. I can enter some content here and even have some different content, maybe some different images for the Spanish market as well. Once I save those changes, I can always test it on the site by selecting the toggle button down here and I can see my English page as well as my Spanish page. We do have instant translation, so we can instantly translate a page automatically as well as integrations with third-party software such as Microsoft Translate. You can send out your content, you can then ingest it back into the system and map it. It's a very easy and seamless way to translate the sites. Another way we have to manage multiple-site capabilities is using our Live Copy feature. What Live copy does is it creates a master of the page, and then you can push all your changes downstream. So if you notice over here we have a home scape site, so it's an ecommerce site with different home-type products. But if you noticed, this is the master version of that page by this little crown represented here and all the rest of them are linked with that crown, meaning they are copies of this live version. So any time I make any changes to this home scape site, push the changes downstream, all the different sites that are downstream from that will inherit those changes. So it's a very easy way to go ahead and promote changes across the site. That concludes our quick Magnolia run-through. I hope that was useful. If you would like to get in touch with us or go into a little bit more detail in any one particular aspect of Magnolia, we'd love to hear from you. Just go ahead and fill out the form.